


10 Easy Homemade Baby Food Recipes (With Age Guide & Safety Tips)
The easiest homemade baby food recipes are simple single-ingredient purees — avocado, banana, sweet potato, pea, apple, carrot, butternut squash, pear, mango, and oatmeal — steamed or mashed until smooth. Most babies are ready for these around 6 months, once they can sit up with support, hold their head steady, and show interest in food. Start with smooth, single foods one at a time, add no salt or sugar, and never give honey before 12 months. With a few basic tools you can batch-make a week of meals in an afternoon.
Medically reviewed by Dr. Yang · June 12, 2026.
This guide gives you ten reliable recipes tagged by stage, a quick reference table, safe allergen-introduction and storage rules, and a simple texture progression as your baby grows. It reflects infant-feeding guidance from the American Academy of Pediatrics (AAP), the CDC, and Health Canada. It is general information, not medical advice — always check with your pediatrician before starting solids or introducing a new food, especially if your baby has allergies, eczema, or a medical condition.
When is your baby ready for homemade food?
Most babies are ready for solids at around 6 months — and generally not before 4 months. The AAP and the Canadian Paediatric Society point to the same readiness signs:
- Sits up with support and holds their head steady
- Has good neck control and can lean forward toward food
- Shows interest — opens their mouth, reaches for what you’re eating
- No longer automatically pushes food out with their tongue
Health Canada and the CPS both recommend offering iron-rich foods early (such as iron-fortified cereal or well-cooked, pureed meat), since iron stores from birth begin to run low around 6 months. If you’re unsure your baby is ready, ask your pediatrician. For a fuller checklist, see our guide on the 5 signs your baby is ready for solids.
The golden rules for homemade baby food
- Start single, then combine. Introduce one new single-ingredient food at a time and wait 3–5 days before the next, watching for any reaction (per the CDC).
- No salt, no sugar. A baby’s kidneys can’t handle added salt, and added sugar isn’t needed — let the natural flavour of the food come through.
- Never honey before 12 months. The CDC and AAP warn that honey can carry spores that cause infant botulism — a serious illness — so honey should not be added to any food, water, or formula for babies under one year.
- Cook hard produce soft, mash round foods. Steam or roast firm fruits and vegetables until they squish easily between your finger and thumb. Quarter round foods like grapes.
- Match texture to your baby’s stage (see the texture timeline below).
- Clean hands, tools, and surfaces before prepping, and store food promptly (see storage section).
Tools you’ll need
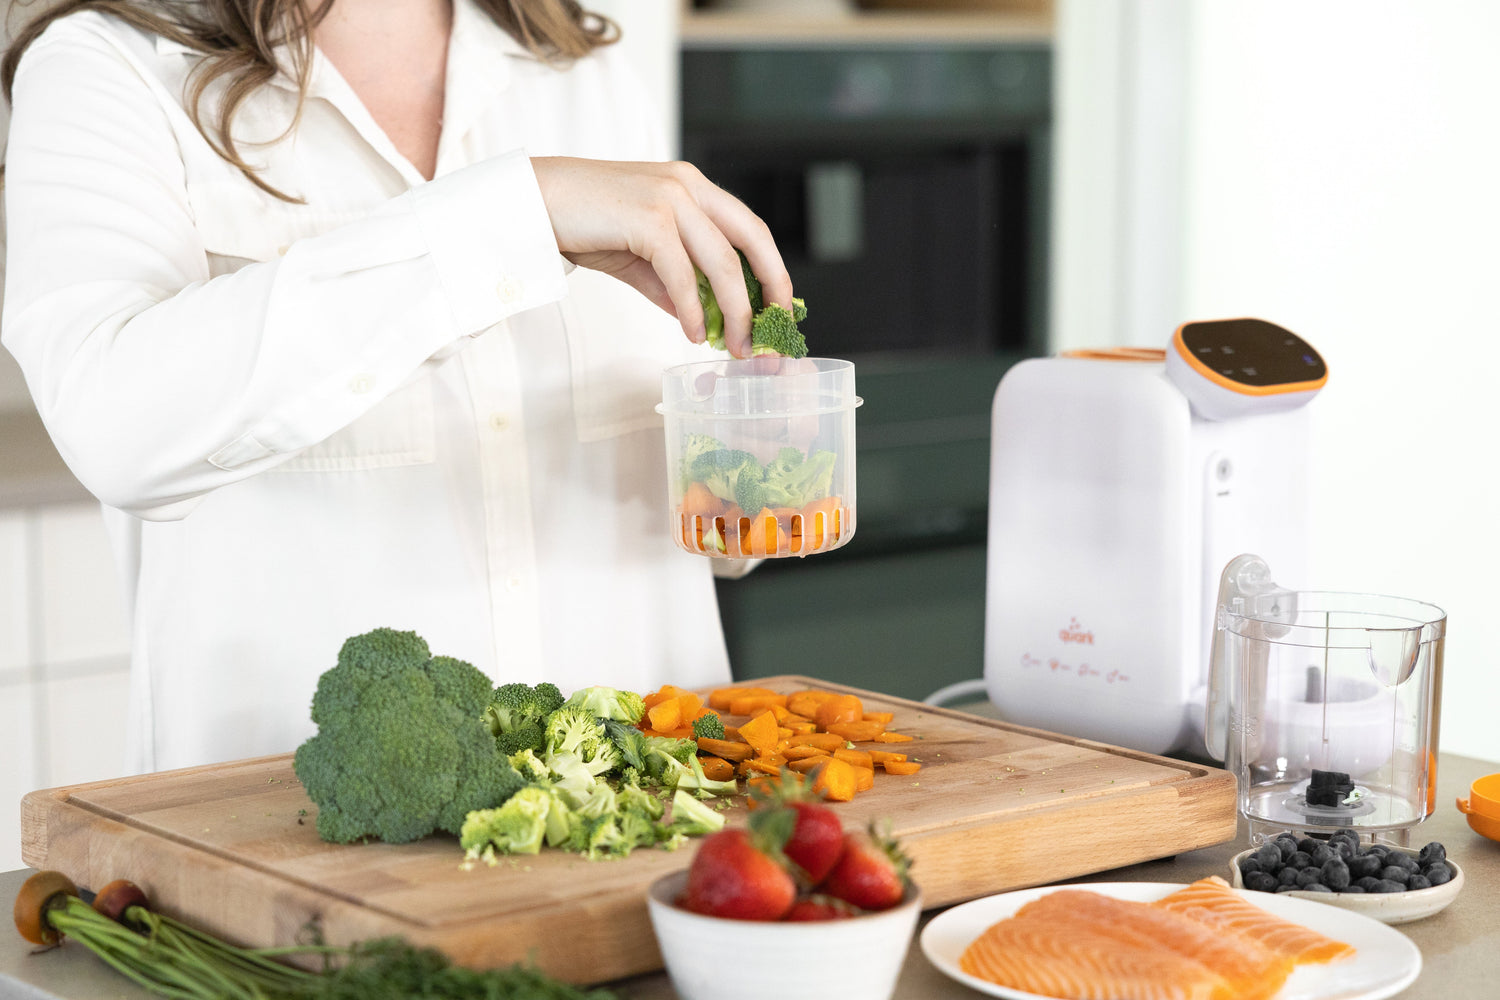
You don’t need much: a steamer basket or pot, a blender, food processor, or fork for mashing, and clean storage containers. An all-in-one tool can replace several of these — our Quook baby food maker steams and blends in one cycle (and doubles as a bottle warmer and sterilizer), which makes batch-prepping the recipes below faster. For storing and freezing portions, the Chiill silicone freezer tray and Storii food storage containers are covered in the storage section.
The 10 easy homemade baby food recipes
Each recipe notes the typical starting age, key nutrients, and how to prepare it safely. Ages are general guides from AAP/CDC readiness norms — your pediatrician’s advice for your baby always comes first. Quantities make a small batch you can portion and freeze.
1. Avocado puree (from ~6 months)
No cooking needed. Scoop the flesh of a ripe avocado and mash with a fork until smooth, thinning with breast milk, formula, or water to the consistency your baby handles. Avocado is rich in healthy fats that support brain development, plus vitamins C, K, and folate. One of the gentlest first foods.
2. Banana puree (from ~6 months)
Choose a fully ripe (spotty) banana, mash thoroughly or blend, and thin if needed. Naturally sweet and a good source of potassium and vitamin B6. No cooking required — ideal for a quick first food or on-the-go meal.
3. Sweet potato puree (from ~6 months)
Peel and cube one sweet potato, steam 12–15 minutes until very soft, then blend with a little of the steaming water until smooth. High in beta-carotene (vitamin A) and naturally sweet, so most babies take to it easily. Pairs well with iron-rich foods.
4. Pea puree (from ~6 months)
Steam fresh or frozen peas 8–10 minutes until tender, then blend with the steaming water until smooth. For a silkier texture, pass through a sieve to remove skins. Peas add plant protein, fibre, and vitamins, with a mild savoury sweetness that balances fruit purees.
5. Apple puree (applesauce) (from ~6 months)
Peel, core, and chop two apples (Gala or Fuji work well). Steam 10–15 minutes until very soft, then blend smooth, adding water to loosen. Apples bring vitamin C, which helps your baby absorb iron. Always cook apple for babies — the CDC and AAP list raw apple chunks among top choking hazards.
6. Carrot puree (from ~6 months)
Peel and slice carrots, steam 12–15 minutes until fork-soft, then blend with cooking water until completely smooth. Carrots are a rich source of beta-carotene. Steam rather than boil to keep more nutrients, and make sure no firm pieces remain — raw or undercooked carrot is a choking hazard.
7. Butternut squash puree (from ~6 months)
Halve, seed, and roast squash at 200°C / 400°F for 35–45 minutes until tender (or steam cubes 15 minutes). Scoop and blend smooth. Naturally sweet and creamy, with vitamin A and fibre — an easy, well-tolerated early vegetable.
8. Pear puree (from ~6 months)
Very ripe pear can be peeled and mashed raw until smooth; firmer pears should be steamed 5–8 minutes first. Gentle on tummies and a good source of fibre and vitamin C. A common pairing for first foods that tend toward constipation.
9. Mango puree (from ~6 months)
Peel a ripe mango, remove the pit, dice, and steam about 5 minutes if firm (or blend raw if very soft). Blend smooth, adding water as needed. Mango delivers vitamins A and C for immunity and eye health, with bright natural sweetness.
10. Baby oatmeal (from ~6 months)
Cook plain rolled oats with water or your baby’s usual milk until soft, then blend or mash to a smooth, lump-free porridge. An iron-fortified baby oat cereal is an easy way to add iron, which AAP and Health Canada flag as a priority around 6 months. Serve plain — no sugar, no honey.
Easy combinations (once each food is tolerated alone)
After your baby has tried foods individually with no reaction, combine purees for new flavours — for example apple + mango, banana + avocado, pea + apple, sweet potato + carrot, or oatmeal + pear. Combining is also a simple way to pair an iron-rich food (oatmeal, meat) with a vitamin-C food (apple, mango) to boost iron absorption.
Recipe quick-reference table
A crawlable summary of all ten recipes, the typical starting age, and the key nutrients each provides.
| Recipe | Typical start age | Prep | Key nutrients |
|---|---|---|---|
| Avocado puree | ~6 months | Mash raw | Healthy fats, folate, vitamins C & K |
| Banana puree | ~6 months | Mash raw | Potassium, vitamin B6 |
| Sweet potato puree | ~6 months | Steam & blend | Vitamin A (beta-carotene), fibre |
| Pea puree | ~6 months | Steam & blend | Plant protein, fibre, vitamins |
| Apple puree | ~6 months | Cook (always) & blend | Vitamin C (aids iron absorption) |
| Carrot puree | ~6 months | Steam & blend | Vitamin A (beta-carotene) |
| Butternut squash puree | ~6 months | Roast/steam & blend | Vitamin A, fibre |
| Pear puree | ~6 months | Mash ripe / steam firm | Fibre, vitamin C |
| Mango puree | ~6 months | Steam if firm & blend | Vitamins A & C |
| Baby oatmeal | ~6 months | Cook & blend smooth | Iron (if fortified), fibre |
Ages are general guidance based on AAP/CDC readiness norms; follow your pediatrician’s advice for your own baby.
Texture by age — how to progress
As your baby develops, food should get gradually thicker and lumpier. The CDC describes moving from smooth purees to mashed, then to soft finger foods over the first year:
| Stage | Texture | What it looks like |
|---|---|---|
| ~6 months | Thin, smooth puree | Drips easily off a spoon; single ingredients |
| ~7–8 months | Thicker puree, light mash | Holds shape on the spoon; soft small lumps introduced |
| ~9–10 months | Mashed with soft lumps | Baby manages texture; soft finger foods alongside |
| ~10–12+ months | Minced/chopped soft table foods | Soft finger foods and modified family meals |
When your baby moves to self-feeding at the table, the Feedi silicone dining set (plates, utensils, catch bib) helps make mealtimes less messy as textures change. For soft first fruits to offer as finger foods, see the 7 best first fruits for babies.
Introducing allergens safely
Current AAP guidance is not to delay common allergens. Around 6 months (and not before 4 months), once your baby is eating other solids well, you can introduce common allergens — peanut, egg, dairy, soy, wheat, sesame, fish, and shellfish — one at a time, watching for any reaction over a couple of days. Early introduction may actually lower the risk of developing some allergies, per the AAP.
- Peanut: use smooth peanut butter thinned into a puree or warm water — never whole nuts or thick globs (a choking hazard).
- Egg: well-cooked, mashed or pureed (scrambled or hard-boiled).
- One at a time, earlier in the day so you can watch for a reaction.
Talk to your pediatrician first if your baby has severe eczema, an existing food allergy, or a strong family history of allergies — the AAP recommends a doctor’s guidance (sometimes earlier introduction, sometimes allergy testing) for these higher-risk babies.
Safe storage, freezing & reheating
Homemade baby food has no preservatives, so storage and hygiene matter. Following FoodSafety.gov guidance:
- Refrigerate within 2 hours of cooking; keep your fridge at or below 4°C / 40°F.
- Fridge: use homemade purees within 1–2 days.
- Freezer: freeze for best quality up to 1–2 months. Ice-cube-tray portions (about 1 oz each) are perfect for single servings.
- Thaw in the fridge overnight or gently on the stovetop — not at room temperature. Thawed food keeps up to 48 hours refrigerated in a sealed container.
- Stir and test the temperature before serving; heat thoroughly and let it cool to warm.
- Don’t reuse leftovers from the bowl the baby ate from — saliva on the spoon contaminates it. When in doubt, throw it out.
For freezing tidy single portions, the Chiill silicone freezer tray with lid pops out one cube at a time with a hygienic cover, and the leak-resistant Storii food storage containers are made for fridge portions and on-the-go meals — both pair naturally with batch-prepping the recipes above.
Frequently asked questions
What are the easiest homemade baby food recipes to start with?
Single-ingredient purees are easiest: avocado and banana need no cooking (just mash), while sweet potato, pea, apple, carrot, squash, and pear are steamed or roasted soft and blended smooth. Start one food at a time around 6 months, with no salt, sugar, or honey added.
At what age can my baby start these recipes?
Most babies are ready around 6 months — once they can sit up with support, hold their head steady, and show interest in food — and generally not before 4 months. These are the readiness signs the AAP and CDC use for starting solids. Check with your pediatrician if you’re unsure.
Can I add salt, sugar, or honey to my baby’s food?
No. Babies don’t need added salt or sugar, and their kidneys can’t handle much salt. Honey must never be given before 12 months — the CDC and AAP warn it can cause infant botulism, a serious illness. Let the natural flavour of the food do the work.
Do I have to steam vegetables, or can I just mash them?
Soft ripe foods like avocado, banana, and very ripe pear can be mashed raw. Firm fruits and all vegetables — apple, carrot, sweet potato, squash — should be cooked until very soft first, both to make them smooth and to remove a choking hazard. Steaming preserves more nutrients than boiling.
How do I introduce allergens like peanut and egg?
Around 6 months, once your baby is eating other solids, introduce common allergens one at a time and watch for a reaction. Use smooth peanut butter thinned into puree (never whole nuts) and well-cooked mashed egg. Talk to your pediatrician first if your baby has severe eczema, an existing food allergy, or a strong family history of allergies.
How long can I store homemade baby food?
Refrigerate homemade purees and use within 1–2 days, or freeze for up to 1–2 months for best quality. Refrigerate cooked food within 2 hours, freeze in small portions (ice-cube trays work well), and label with the date. Thaw in the fridge, not at room temperature.
Is it safe to freeze baby food in ice cube trays?
Yes — ice cube trays make convenient ~1 oz portions. Freeze the puree, then transfer cubes to a labelled, sealed freezer bag or container. A covered silicone freezer tray keeps portions hygienic and easy to pop out one at a time.
How do I thaw and reheat baby food safely?
Thaw overnight in the fridge or warm gently on the stovetop — avoid leaving food out at room temperature to defrost. Heat through, then stir well and test the temperature so there are no hot spots. Once thawed, use within 48 hours and never refreeze.
Do I need a food processor to make baby food?
Not necessarily — a fork, masher, or regular blender works for many purees. An all-in-one steamer-blender like the Quook baby food maker simply speeds up batch prep by steaming and blending in one cycle. Choose whatever fits your kitchen and time.
Is homemade baby food better than store-bought?
Homemade lets you control exactly what goes in — no added preservatives, salt, or sugar — and is usually cheaper, while exposing your baby to a wider range of flavours and textures. Store-bought is fine for convenience; many families do a mix. Either way, follow the same age, allergen, and storage rules.
The bottom line
Start with simple, smooth single-ingredient purees around 6 months — avocado, banana, sweet potato, pea, apple, carrot, squash, pear, mango, and baby oatmeal — introduce one food at a time, add no salt, sugar, or honey, and progress texture as your baby grows. Batch-prep, freeze in small portions, and store safely. If you’d like to make the whole process faster, the all-in-one Quook baby food maker steams and blends in one step, and the Chiill freezer tray and Storii containers keep your homemade purees fresh and portioned.
This article is for general information and is not a substitute for professional medical advice. Always consult your pediatrician about your baby’s feeding, especially regarding starting solids, choking risk, and food allergies.


Leave a comment
All comments are moderated before being published.
This site is protected by hCaptcha and the hCaptcha Privacy Policy and Terms of Service apply.