

Short answer: unplug the warmer and empty it, wash the removable food-contact parts in warm soapy water, wipe the powered body with a damp cloth without ever submerging it, and leave it open until it is bone dry. Under a minute. Then descale with a 1:1 white vinegar and water solution about once a month, and more often if your water is hard.
That is the whole routine. The rest of this page is about the parts people get wrong: where the milk smell actually lives, why scale matters more than it looks like it should, and the one component that must never get wet.

Why cleaning a warmer is not the same as cleaning a bottle
A bottle is a single open shape. You can see every surface, a brush reaches all of it, and it goes in the dishwasher. A bottle warmer is a chamber attached to electronics, which means part of it washes like a bottle and part of it must never be immersed at all. Almost every cleaning mistake comes from treating the whole device as one or the other.
The stakes are not theoretical. The NHS advises cleaning infant feeding items after every use, because milk is a growth medium and a warm, damp, closed chamber is close to an ideal one. Residue you cannot see is still residue.
Two things follow. First, the after-feed routine matters more than any deep clean, because deep cleaning is a response to a problem that the routine prevents. Second, the design of the warmer decides how hard that routine is.
What comes out, and what only gets wiped
Before you clean anything, work out which parts of your warmer are food-contact and removable, and which are powered. On a warmer with a fixed inner chamber, everything is reached from the top with a cloth, which is why residue tends to collect in the bottom seam. On a warmer with a removable vessel, the part that touches milk lifts out completely and washes in the sink like any other bottle part.

This is the single biggest variable in how a warmer ages. A surface you can wash under running water gets genuinely clean. A surface you can only reach with a cloth held at an angle gets mostly clean, and "mostly" compounds over months of daily feeds.
The rule that covers every warmer: if it holds milk and lifts out, wash it. If it holds electricity, wipe it. Nothing that holds electricity goes under a tap.
Which BuubiBottle do you have?
The two generations clean differently, so it is worth knowing which is on your counter.
- BuubiBottle Portable Milk Warmer PRO — the stainless steel vessel twists free of the electronic base. Wash the vessel at the sink, wipe the base, set it back to charge. Because the vessel separates, you can clean the entire milk-contact surface under running water.
- BuubiBottle Smart Portable Milk Warmer (the original) — the Tritan chamber does not separate from the body, so it is cleaned in place. Use a soft bottle brush to reach the bottom seam and the area under the cap rim, which is where residue collects on this design, and take extra care never to let water reach the port.
Neither approach is wrong; they are just different jobs. The original is the lighter, smaller-capacity option and cleans in place. The PRO holds more and lets you take the milk-contact surface to the sink.
The after-every-feed routine
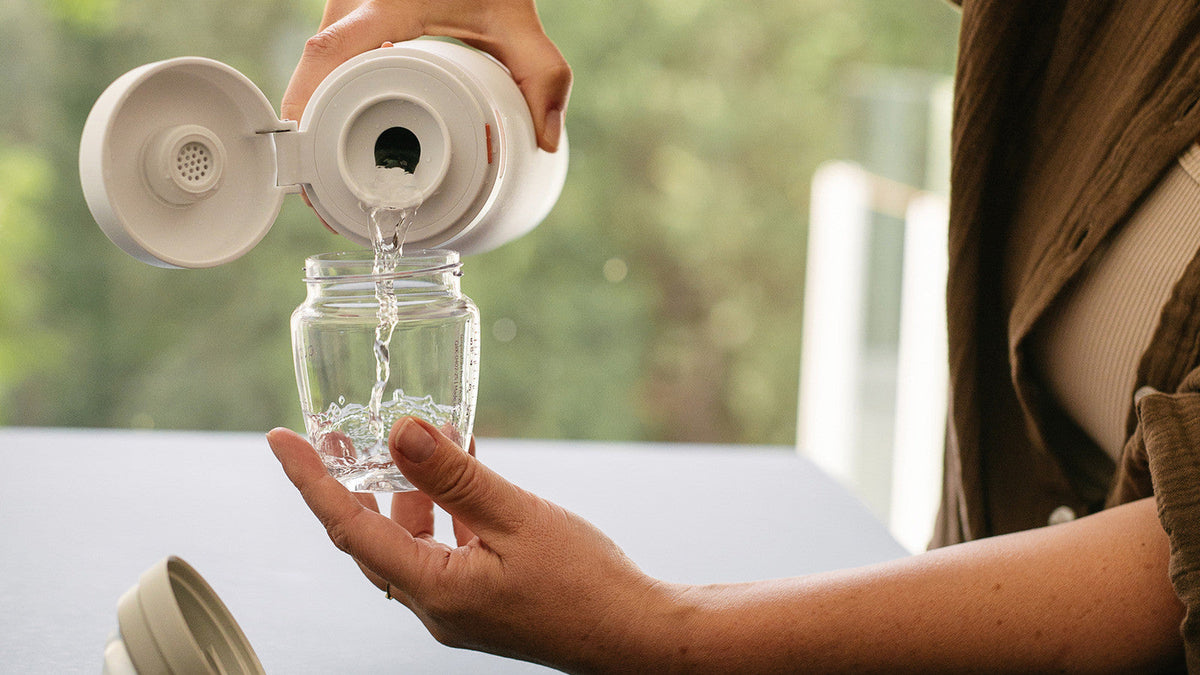
- Unplug and empty. Pour out leftover milk or water while the warmer is still warm — residue lifts far more easily before it dries.
- Wash the removable parts. Warm water, a drop of mild dish soap, and a bottle brush for anything with a seam. Give gaskets and lid rims deliberate attention; that is where smell starts.
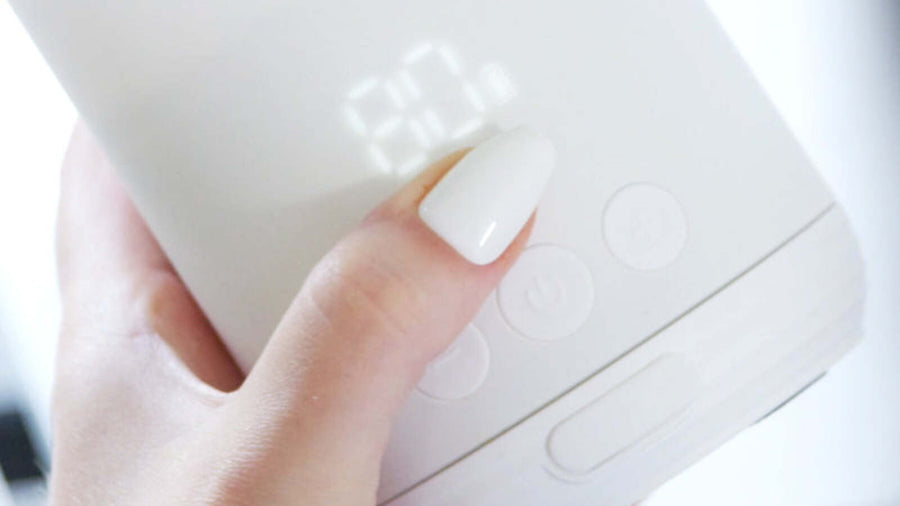
- Wipe the body. A soft cloth dampened in warm water, then a dry pass. Keep water away from the USB-C port and any charging contacts.
- Air-dry open. Leave it open until completely dry. Closing a damp chamber is what converts a clean warmer into a smelly one overnight.
Done immediately, this is a 45-to-60 second job. Done the next morning, it is a soak.
Descaling: what the white film is and why it matters
The chalky white or grey film that builds on the heating surface is limescale, left behind by minerals in tap water when the water evaporates. It is not dirt and it is not harmful to touch, but it is an insulator sitting directly on the surface that is supposed to transfer heat.
That is the practical cost. As scale thickens, the warmer takes longer to reach temperature and heats less evenly, which is exactly the behaviour people interpret as the device failing. A warmer that has become slow is very often a warmer that needs descaling rather than replacing.
How to descale a bottle warmer
- Mix equal parts white vinegar and water — enough to cover the scaled surface.
- Let it sit 20 to 30 minutes. Do not run a heating cycle with vinegar in it unless the manufacturer explicitly says to.
- Pour it out and rinse thoroughly, several times. Vinegar smell means vinegar residue.
- Run one cycle with plain water and discard it, then dry fully.
Frequency depends on your water, not the calendar. Monthly suits most households; every two or three weeks is reasonable in hard-water areas. The honest trigger is visual — descale when you see film, not when an app reminds you.
Never mix vinegar with bleach. The combination releases chlorine gas. If you prefer a commercial descaler, choose one rated food-safe and follow its rinse instructions exactly.

If you have an electric countertop warmer
Countertop warmers work differently enough that the routine changes. Most heat a bottle by warming water in a reservoir or basin, which means water sits in the device between feeds and scale builds faster than in a portable warmer that is emptied after every use.
Three differences matter in practice:
- Empty the reservoir daily, not weekly. Standing water is where both scale and biofilm start. Tip it out and wipe it dry at the end of each day rather than topping it up.
- Descale more often. A reservoir that holds water continuously will scale roughly twice as fast as an emptied chamber. Check it every two weeks.
- Watch the basket and lid. Steam-based models push milk-laden condensate into the lid and basket, so those parts need washing even though nothing was poured into them.
The descaling method is the same 1:1 white vinegar and water solution. The difference is that on a countertop model you usually descale the fixed reservoir in place, so rinse more thoroughly than feels necessary — run at least two plain-water cycles and discard both before the next feed.
Hard water changes the schedule, not the method
Water hardness varies enormously between municipalities, and it is the single biggest factor in how often you will descale. If your kettle furs up quickly, or you see spots on glassware out of the dishwasher, assume hard water and move to a two-week descaling interval. If you are unsure, your municipal water authority publishes hardness figures for your area.
Using filtered or distilled water in a countertop reservoir reduces scale substantially. It is not necessary, but it converts a monthly chore into a quarterly one.
Milk smell: it is almost never where you are looking
A smell that survives washing is residue you have not physically reached. Milk fat works into seams, gasket grooves, threaded areas, and the underside of lid rims — places a cloth passes over without contacting. The open chamber, which is the part everyone cleans, is rarely the source.
So the fix is mechanical before it is chemical:
- Remove every part that is designed to be removed, including gaskets if they are removable.
- Wash each one separately with a brush, not a wipe.
- Soak in 1:1 white vinegar and water for 20 to 30 minutes.
- Rinse thoroughly and dry completely, open.
If the smell returns within a few days, you have not reached it yet. Baking soda paste on a soft brush works on stubborn seams. If a gasket has gone cloudy, tacky, or permanently smells after a full clean, it has absorbed fat and belongs in the bin — gaskets are consumables.
What never gets wet

- The USB-C or charging port. Water here causes corrosion and intermittent charging faults that look like battery failure.
- The powered body. No dishwasher, no submerging, no running tap — regardless of how heat-tolerant the housing material is on its own. A heat-tolerant material and a waterproof assembled device are different claims.
- Control panels and displays. Damp cloth only. Never spray cleaner directly onto a panel; spray the cloth.
- Abrasives and solvents. Scouring pads scratch food-contact surfaces, and a scratched surface holds residue better than a smooth one. Bleach and alcohol are unnecessary for routine cleaning.
Travel, storage, and the mistake that causes most smells
The most common way a warmer develops a persistent smell is being packed away damp. A bag is dark, closed, and warm, and a chamber with a few millilitres of moisture in it has everything it needs.
Before it goes into a bag: empty, wipe, and dry with the lid off. If you are out and cannot wash it properly, rinse with clean water, tip it out, and leave the cap unsealed until you can. A rinsed warmer travelling with its cap open is in far better shape than a "properly cleaned" one sealed while damp.
How often to deep-clean, and when parts need replacing
- Every feed: the 60-second routine above.
- Weekly: remove and wash gaskets and lids separately, with a brush.
- Monthly: descale, or sooner if you can see film.
- Replace when: a gasket is cracked, permanently cloudy, tacky, or still smells after a full clean; the seal no longer holds; or a food-contact surface is visibly scratched or pitted.
Gaskets and seals are wear parts. Replacing one is ordinary maintenance, not evidence that the warmer has failed.
Common questions
Can you put a bottle warmer in the dishwasher? No. Not the powered body, on any model. Removable food-contact parts may be dishwasher-safe if the care instructions say so; check yours rather than assuming.
Is vinegar safe around baby feeding equipment? Yes, when rinsed thoroughly. White vinegar is a mild acid that dissolves limescale and leaves no harmful residue once rinsed. Rinse until there is no vinegar smell.
My warmer got slower. Is it broken? Usually no. Slower warming is far more often scale than failure. Descale it and re-time a cycle before concluding anything about the device.
Can I clean it with just water? No. Water alone does not lift milk fat. A drop of dish soap does, and rinses out completely.
Do I need to sterilise the warmer as well as clean it? It depends on the age and health of your baby. Routine washing is what keeps a warmer safe day to day; the CDC advises additional sanitising mainly for infants under three months, born prematurely, or immunocompromised. Follow your own care instructions, and note that sterilising a device with electronics in it is generally not possible — you sterilise the removable parts, not the warmer.
A warmer that is easier to clean stays cleaner
Most of the problems on this page — the smell that will not shift, the seam you cannot reach, the film on the heating surface — trace back to one thing: how much of the milk-contact surface you can actually get at.
That is the reason the BuubiBottle Portable Milk Warmer PRO uses a vacuum-insulated stainless steel vessel that twists free of the electronics. It holds 17 oz, warms to a temperature you set and holds it there, and has a dedicated mode that brings water to 70 °C (158 °F) for preparing powdered formula. When the feed is done, the part that touched milk goes to the sink and the base goes back on charge.
If you want the lighter, smaller option, the original BuubiBottle Smart Portable Milk Warmer is still the one to look at — 300 ml, Tritan, and a 10-hour battery.
Sources
Medically reviewed by Dr. Yang This article is general guidance on cleaning feeding equipment and is not a substitute for the care instructions supplied with your specific device, or for medical advice.


Leave a comment
All comments are moderated before being published.
This site is protected by hCaptcha and the hCaptcha Privacy Policy and Terms of Service apply.